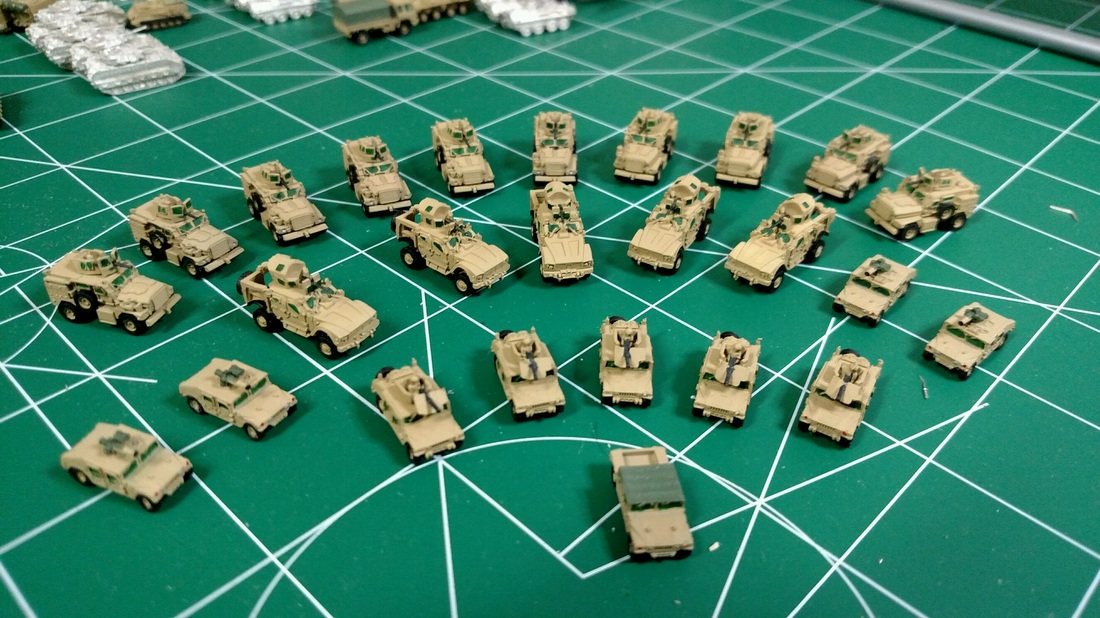
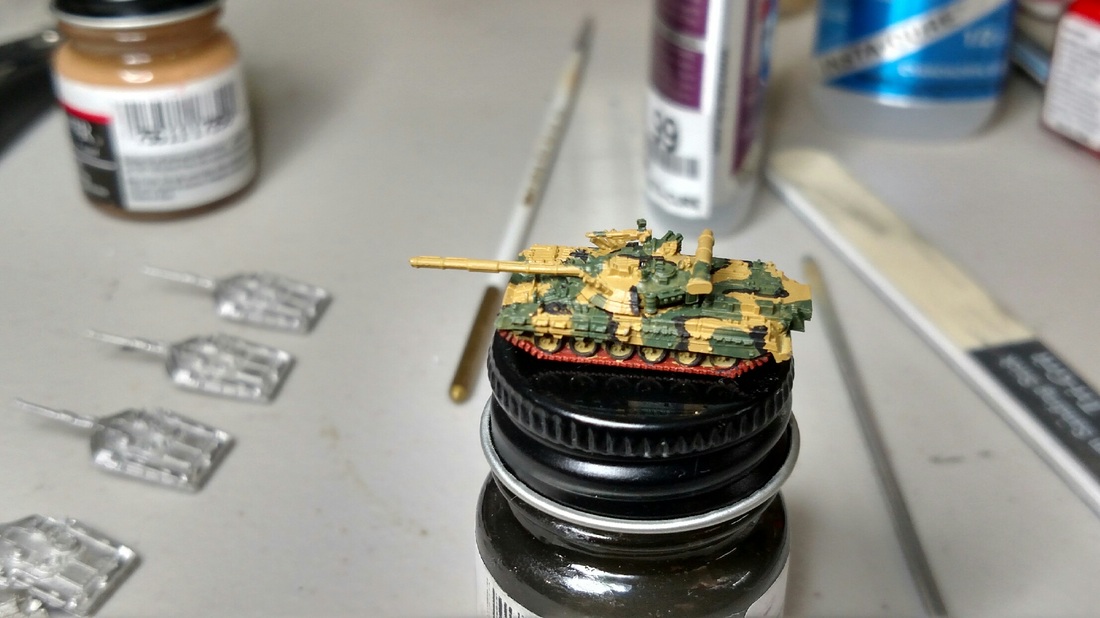
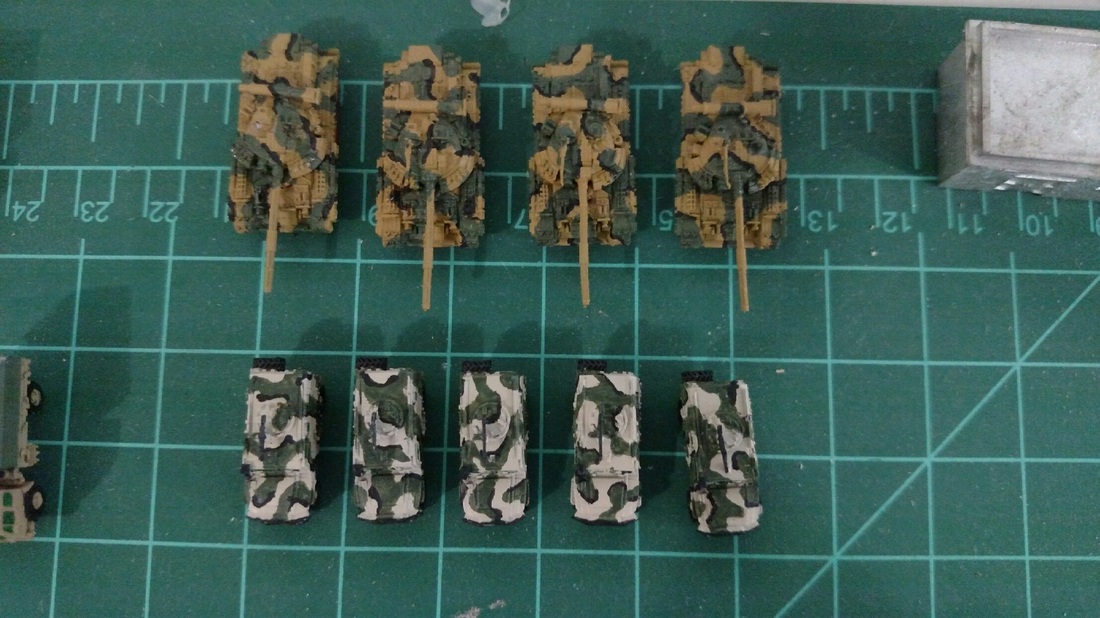
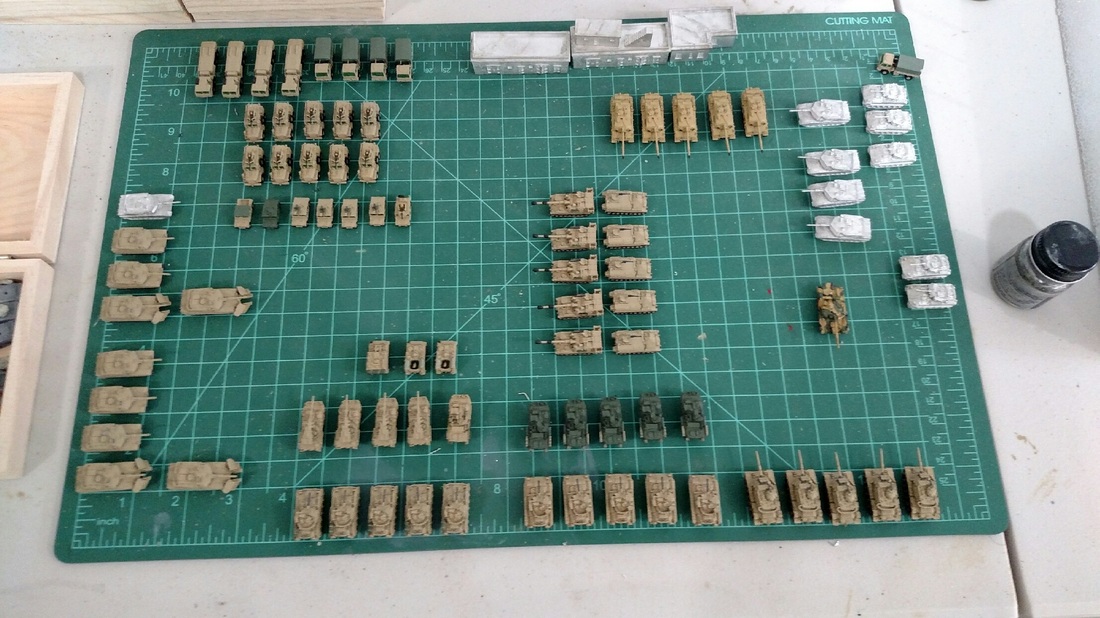
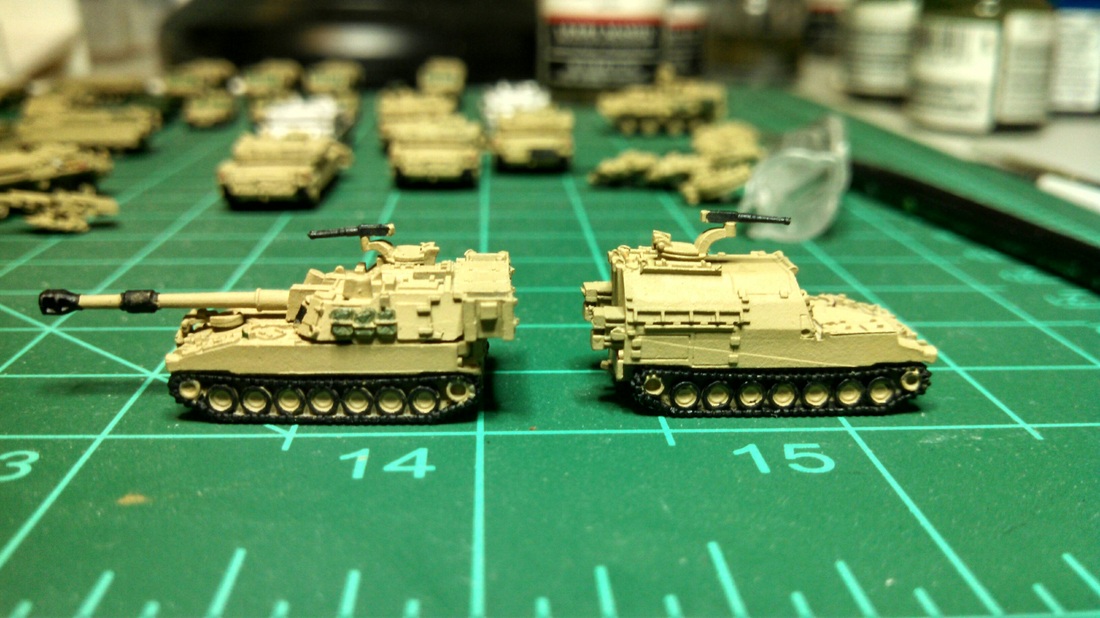
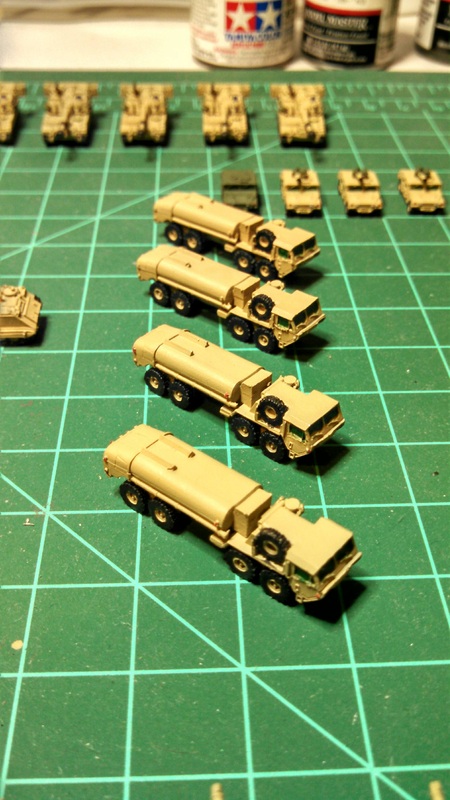
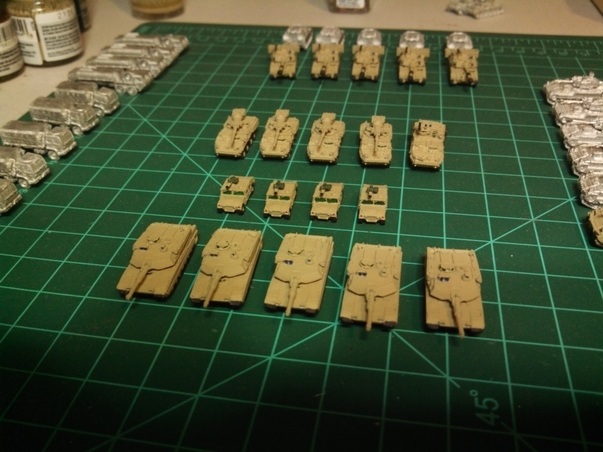
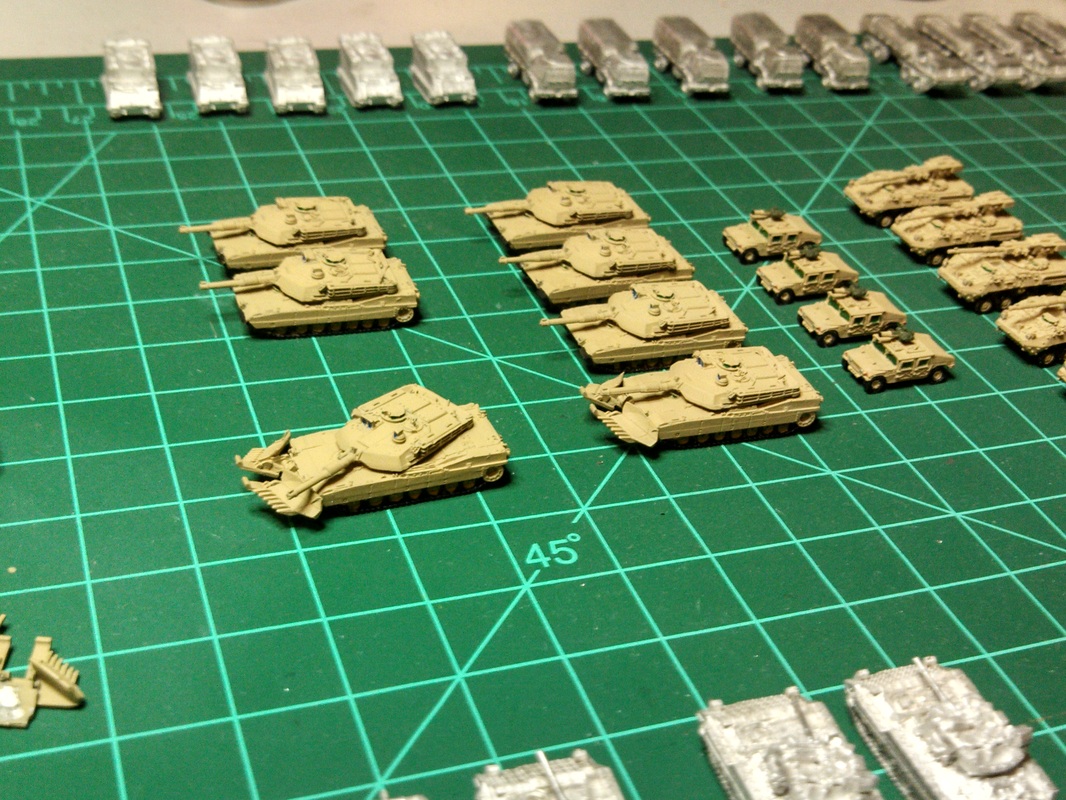
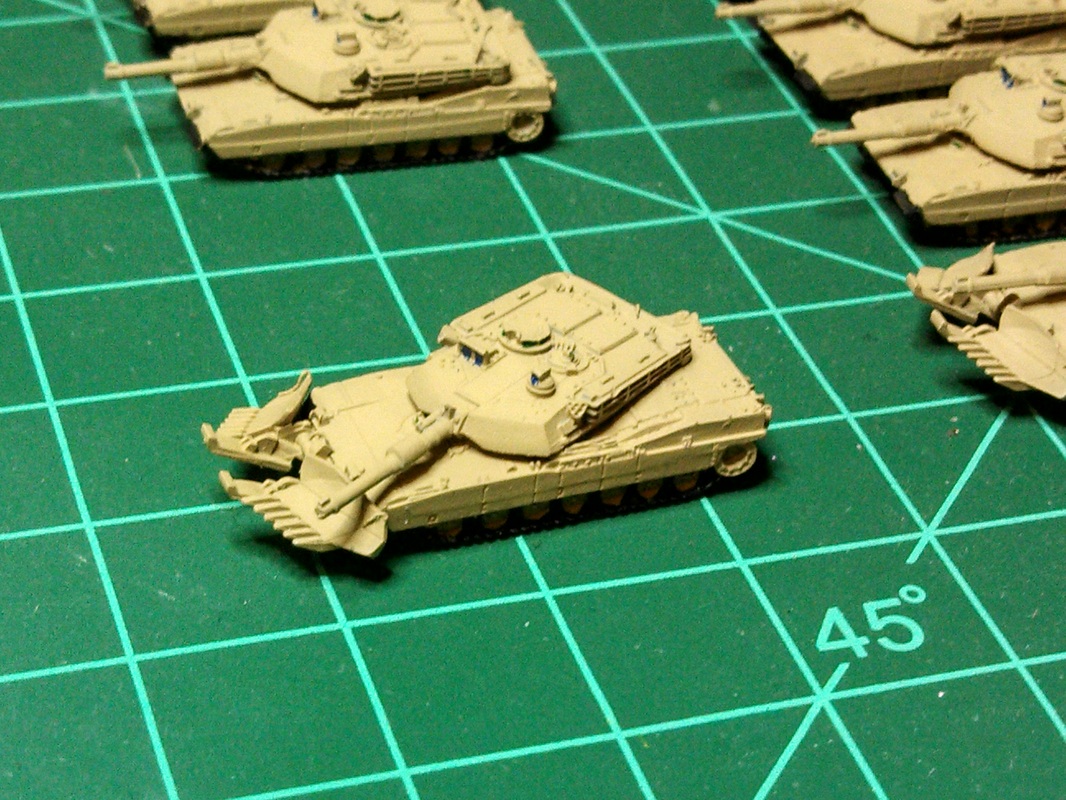
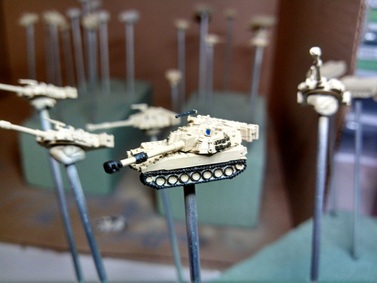
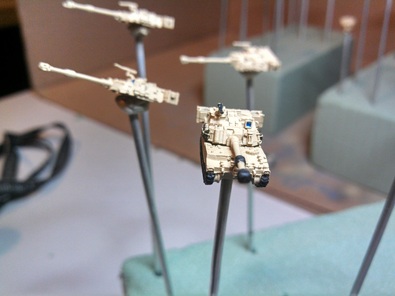
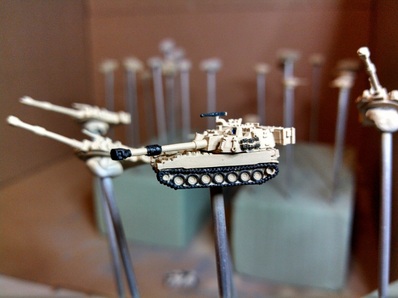
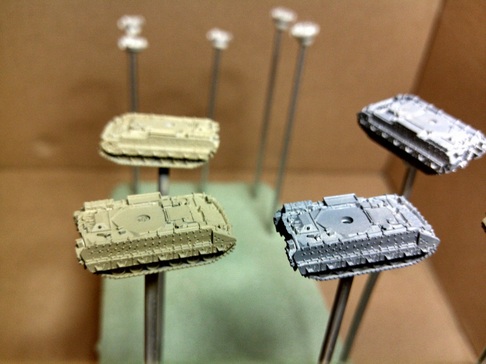
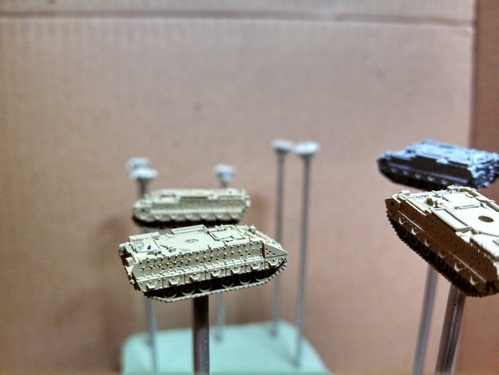
I recently purchased a pack of GHQ's M-ATVs. I really like the look of them and think their a good addition to my non armor combat vehicles. Consistent with my current theme, they are all painted in a solid desert color of the US Army and Marines. As always, none of the vehicles shown are fully painted and complete. My ADHD is way to powerful for that. The M-ATVs (center stage) are joined by a two sets of Cougar MRAPs, Humvee's with TOWs and Humvee's with AOA and Ma Deuce on the top. Let me know what you think.
2 Comments
My newest project, to add to the growing backlog of unfinished projects, is a Leopard 2A6. I am using Model Masters Tricolor Green NATO (S6). When viewed in the bottle it appears to be the right shade of green, however when applied it looks a little dark. Now this in itself is not a huge deal, but I have read on the GHQ website that at this scale, a little white should be added to lighten up the color... I presume its to be able to see the detail and to assist in the wash process to help the detail pop out. That being said, I took the Tricolor Green NATO and added about 10% flat white to it. The results were not to what I was looking for. The Leopard is done in the lightened color and the Stryker is painted with color strait from the bottle. My issue is, what is the right amount of white to add so that the final product does not look too faded. See results below. The soviet tank below has no white added and it appears to be too dark. It uses Model Masters Russian Armor Green. When I tried to lighten the green, in the same proportions mentioned above, it turned out like a very washed out pale green. The picture below looks lighter than it does in person. Maybe I am making too much out of this and the darker color is just fine or maybe the lighter color on the leopard just needs to be darkened up a little. My goal is to paint the Leopard using the NATO Tri Color of Green base, Black and Brown camo pattern mixed in. As to the answer, you will have to wait till a later post. I am going to post these pictures to GHQ and see what the experts on there will say about it. If you have an opinion, feel free to comment.
Though I have not posted in a while, I have still been putting some work in. My latest work in progress is a soviet T-80 and some Gaz Tigrs. I decided to go with a camo pattern instead of the boring Russian green. I used NATO Tri Color Green, Dark Yellow and Black for the T-80. The GAZ Tigr was painted in Desert Sand, NATO Tri Color Green, and black. In my classic style, these vehicles are not finished and have more work needed on them. Mostly touch up work at this point and a wash to bring out the highlights. Regardless, I thought I would share. Hope you enjoy. In addition to these vehicles, here is a picture of most of what I have close to being completed. Sadly I am always distracted by the new and shinny recent purchased. As a result nothing ever fully gets finished. I am close, but never fully complete.
I wanted to take a quick second and post two new additions to my collection. These are both close to be completed but lack touch up do to my lack of ability to paint within the lines and not enough guts to do a wash. The first picture has an M109 Paladin and a M992 FAASV. The M992 FAASV is the new vehicle I just completed. The second picture contains four M978 Fuel Servicing truck.
Here are some new pictures of my ongoing effort to build a complete Armored Cavalry Troop. The picture below is of a Stryker 105 mm MGS. I still have to do some clean up on the detail painting I did on the vision periscopes, sensor, and wheels and treads. I also need to decide, once and for all, if I am going to do a wash. I think the wash is a necessity to bring out the extreme detail of the GHQ pieces.
It seems like I am getting bogged down in the details. Part of my obsessive compulsive nature to chase the impossible. I have spent countless hours scanning the net to see what others have done in the arena of miniature painting. Each time I find something new or better, and I up the anti for myself. I dig deeper and try to add more detail to my vehicles. This has made it impossible to complete anything after a couple of months. So I have decided to wind down what I have been working on and put an end to the madness i have fallen victim too. I think my stuff is really good when looked at with the naked eye and not through the supper high resolution of a macro lens of today's cameras. In this picture, you will see a set of M109 Paladins, one Bradley fighting vehicle and four Humvees in which I kit bashed a set of Jeeps that mounted tow launchers so that my GHQ Humvees looked better. Well, let me know what you think or if you want to see a particular view or close up of a particular area. I will hopefully have the completed vehicles in about two weeks. That leaves the final question........ To weather the tank or not to weather the thank.... It never ends.
As you can see, the detail work on one of my Paladins has begun. I need to clean up some of the detail work that you see in the picture and add a little bit more. Evaluation of my own work so far has me feeling that the black is a little shiny and clumpy. In addition to my issue with the black paint, I have found acrylics not to my liking. They seem to be kind of thick and did not come off the brush very well when used strait from the bottle. As I clean up the Jerry cans, I will try and mix the acrylic, XF-62 Olive Drab Tamiya, with a little bit of thinner. Maybe it will help it flow better. The blue used in the sensor, on the top of the turret, was Testors 11111 Dark Blue. The photo to the left is one I found on the internet and is what I was shooting for. I think for my first real attempt at detail work, Its not coming out too bad. I am always way to hard on myself and need to be satisfied with baby steps as i gain experience. I think after a dull clear coat and maybe a wash, thing will look a little more real and less like a toy. Hopefully the next photos will be a finished Paladin. As always comment and suggestions are welcome. I decided to take a little side step and work on a couple of vehicles all at once. I feel my airbrushing skills have improved and felt like doing a mass base coat session on a couple of vehicles. I learned a few lessons from my work on the Bradley in my last post. I felt that the paint and primer were rubbing off a little to much when handled. Now I know that I need to put a clear coat to seal all the paint but it seemed like the paint was rubbing off too easy. So I increased my mixture to 75% paint to 25% thinner. That might be a little too much but I will work with this for a while. The other lesson was just because a paint says armor sand, does not mean its the right armor sand. I know doh.... So I decided to change colors and went with Model Masters US Army/Marine Gulf Armor Sand. I am not totally in love with it, but it works for now. In the right light, like the pictures below, it looks good enough. This is my first M109 Paladin. If you look close, and believe me I do, you can see a few spots where I need to add a little more paint. Scary because I don't want it to build up in other areas that appear to be just right. I can't wait to get the final little bit of the base coat done so i can start the detail work. As I type this and look at the pictures, i can already see areas that need addressed. All and All I think my first attempt at airbrushing miniatures is working out ok. More to come once i get off of second shift in two weeks.
In case anyone checks this site more than once, as promised, I have begun my adventure in airbrushing micro armor. I recently purchased some GHQ modern armor. The purchase consist of two sets of Bradley fighting vehicles and set of M1 Abrams. The image below shows the beginning stages of my painting process. Both the primer and the base coat are from Model Masters line of paint and thinner. I am currently using enamels for this project. The mixture used for the primer and the base coat is a 50% mix of product to thinner. The base coat color is a flat armor sand FS30277. I am sure this color is slightly off for a Bradley, but I was anxious to get started. This meant I went with what looked good under the hobby store light and then quickly applied it to the vehicles. As for the airbrush, I am using a double action patriot badger. It seems to work well and have enjoyed the experience so far. I currently have the compressor set to 15 psi.
I have been pleasantly shocked with how easy the painting process is going. Before this en-devour, I had never used an airbrush. I make small mistakes , but for the most part it has gone well for a beginner. Now I know this is probably going to jinx me, but I will knock on some wood for good luck before the end of this entry. After the application of primer and a single coat of the base paint, i feel that I've gotten fairly good coverage and did not loose much if any of the detail. I think this is all for now. I will be doing some cleanup work on the turrets and then begin some of the detail work soon. Hopefully I keep myself motivated enough to stay on top of this so that watching my progress is more fun than watching grass grow. As always, any feedback, tips and or suggestions are appreciated. Well, through the grace of credit card reward points, I finally purchased and airbrush and air compressor. After seeing the great results that some people have had with them, I figured I really needed one. Once both the compressor and the airbrush was delivered, you would think that I would be off to the next step of my adventure. O but no, it was not to be. I had to struggle to find the right components to connect my Badger airbrush to the compressor. This was difficult because as luck would have it, Badger airbrushes had very small connection plumbing and it did not work with the airlines that came with the compressor or what I could buy at the hobby store. My fix was to get a fitting that increased the diameter coming out of the compressor and then buy a 12 dollar single action airbrush that had an airline with the right connector for the Badger airbrush and connect to the newly installed fitting on the compressor. The airline connector is plastic and is not a very good connection. It works for now until a more permanent solution can be found. My first airbrush project is going to be a a GHQ German half track. I apologize that i do not have pictures or info on my airbrush and compressor, but I will post something soon.
|
Archives
May 2020
Categories |