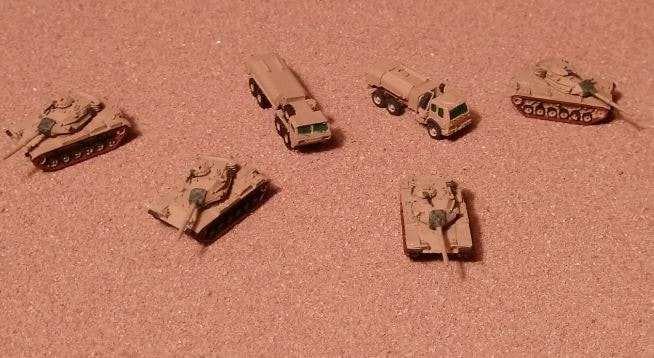
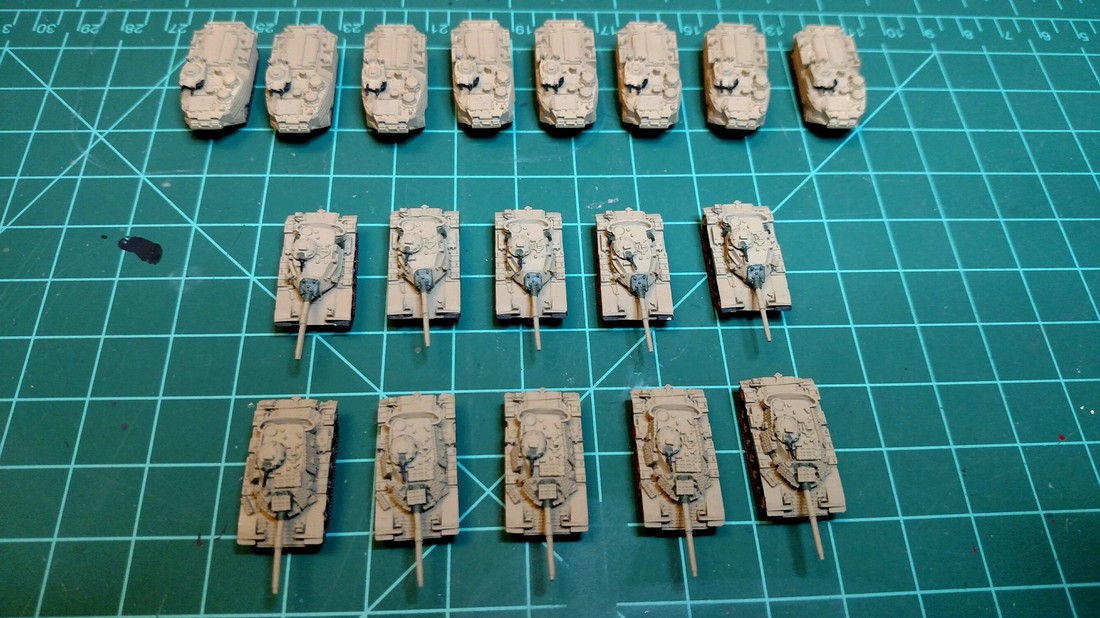
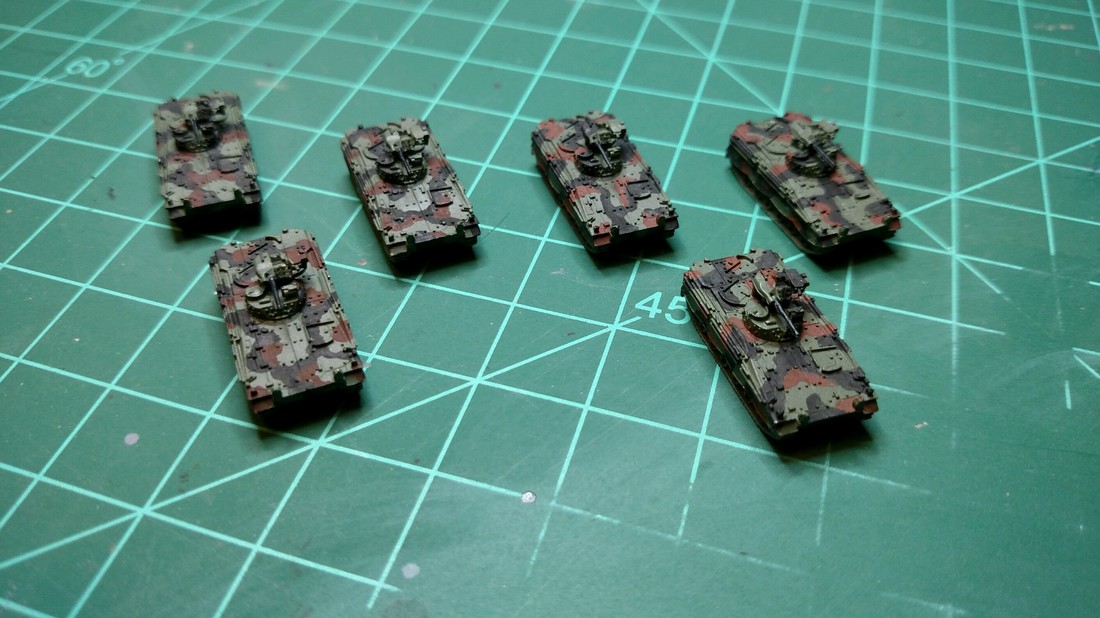
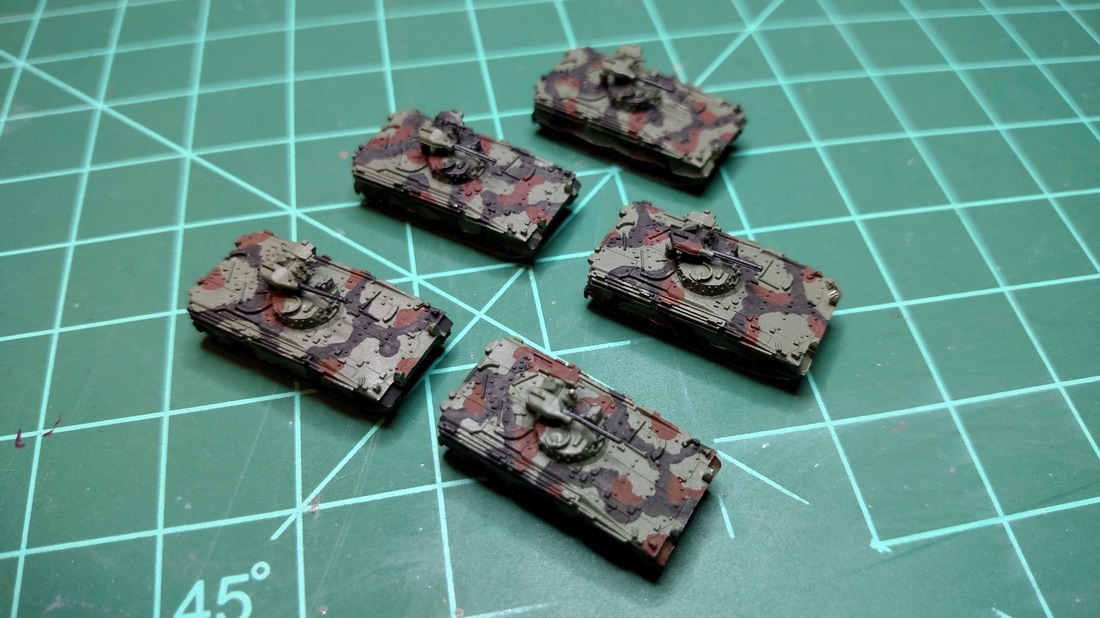
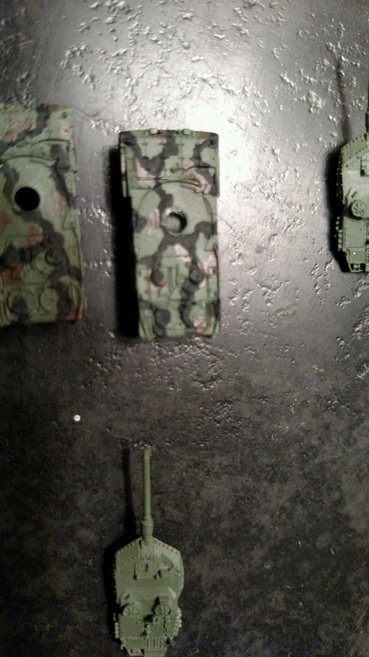
I had only turned away from my hobby table for a moment. My girlfriend had been standing near the table. As I turned back and walked over to my hobby table, I noticed that my tanks had been moved.. When I left them, they were positioned to receive fuel before moving off to there next objective.. 
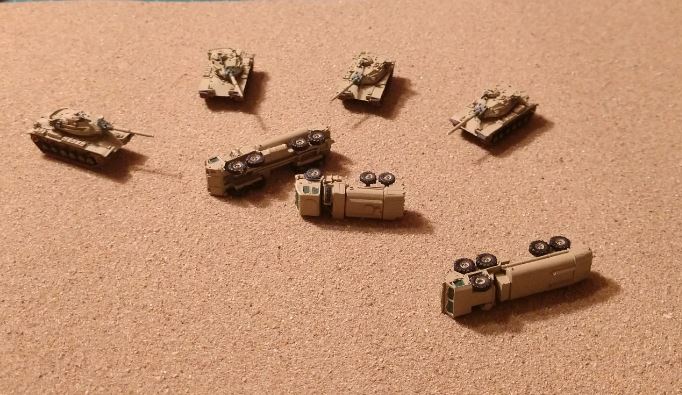
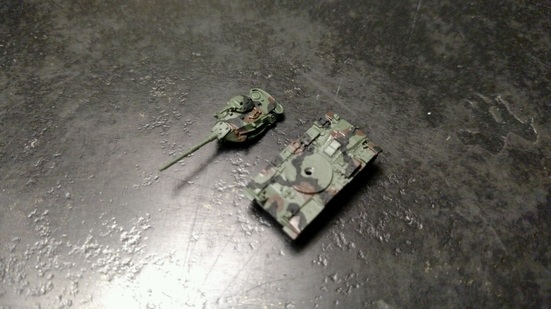
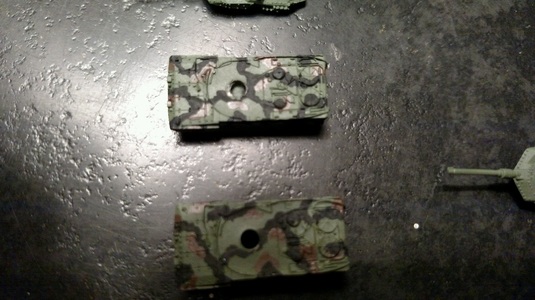
The scene had changed to something more grim.. As I surveyed my tanks, it became clear that my girlfriend was sending me a message. To my horror , my support trucks had been destroyed without remorse. If only I could figure it out before she moves on to the next group of vehicles.
0 Comments
Its been a while since I have posted anything, so I thought I would drop a quick pic of what I am working on. Ever since I started to collect GHQ miniatures, I wanted to build an Armored Cavalry Squadron (ACR). Well its been over 5 years and I am really close to having a full squadron and some of the support troops that go along with them. My love for this Unit started after I ready Tom Clancy's Armored Cav book. I think the flexibility, maneuverability and fire power appealed to me. Recently, on the GHQ forum, an ACR thread was created and from the begging it has been filled with great discussion, TO&E data, and pictures of GHQ minitures. Alot of it from formal military and ACR members. Link shown below. http://www.ghqmodels.com/forum/viewtopic.php?t=6142 With that said, I wanted to throw a pic of my ACR squadron that is currently in progress of being formed. As you can see, I am short a few units and there is definitely some painting that needs to be done. As I get more done, I will add more pictures. Maybe soon, I will add a shot or two of one of the complete troops.
This is a quick an dirty post. The vehicles below are not finished and need to be cleaned up over painting and detail/washes. With that said, GHQ forum needs the pics posted somewhere so that you can post on there site. So this is where I do that.
Details.. The blue painted window, on the British Leyland DAF, is meant to represent non bullet proof windows. The green is intended to represent the greenish tint on bullet proof windows. Let me know what you think. At the end of April, I attending RECON 2018, in Orlando, Florida. It was my first war game convention and I had a lot of fun. The game master was a friend I met through the GHQ web forum and I thoroughly enjoy the scenarios that he puts together. Really enjoyed my experience and it was great to be surrounded by like minded gamers and meeting new people. I will definitely be doing this again. Now to the good stuff, my after Action Report. The Russian Bear Attacks In the spring of 2018, Russian forces slammed into forward deployed German units. Badly mauled, the Germans fall back to a defensive position around three critical bridges. They quickly dig in and wait as the Russian forces advance in front of them. They know that the Russians are determined to capture the bridges intact and exploit the bridge head. As shown above, there are two major roads leading up to the bridges. The Russians begin their push to their objectives The initial push begins with a recon in force, with BMP-1s and T-90 Tanks. Not wanting to give away their position, they push forward cross country in an attempt conceal their advance. There progress is slow and uses up valuable time needed to hit the enemy before they can be reinforced. This leads to confusion and the Russian high command launches an airborne assault on bridge opposite of the main thrust. German Air defense units hit half of the transports before they can drop their payload. However, several infantry and armored units successfully land and deploy in the building on the far side of the river. This move forces the Russian high command to order T-90 tanks, down the road, to exploit the gain and try to draw in any reinforcing units. However, the slow moving recon units are moving two slow and fail to get into place to call in artillery fire and direct follow on units. Pressured to consolidate early gains causes Russian tank formation rushing down the road in tight formation without any regard for the possibility of artillery fire. German Marders engage the airborne troops trying to prevent further gains with some success. Several hits were scored and on the enemy forces. US Forces were rushed to the drop zone in an attempt to expel the Russian from the town and close the hasty bridgehead that was created. M1s Raced to the village bridge while M3 Bradley’s took positions on thills overlooking the area. The allies next move was an artillery borage to slow the advancing Russian armor. The artillery fire was not as accurate as hoped but did bloody the nose of the advancing tanks. M1s started to take losses and from return fire with some good results. This slowed the ability of the allies to crush the bridgehead and let the Russians hold on a little longer. As the right flank attempts to exploit its bridgehead and tie up more allied forces, the recon units finally get into place and BMPs race forward to deliver extra troops and additional IFV firepower. A few BMPs take hits along the road, but due to good spacing, the artillery strikes have less of an impact. The one draw back comes from the reduced amount of units hitting the front line in a large enough force to push across the river. At this point US M1s make it to the left side bridge and take up positions. The two side begin to exchange shots. In the distance, the Russian at the right side bridge are beginning to engage in force and more and more units poor into the fight. Fire is exchanged and the Russians begin lighting up tanks along the rivers edge. Black smoke can be seen from one end of the battle field to the other. Just as the US front line looks like its about to crumble, M1 Abrams rush to the river at full speed. In the distance, Russian armor can barely be seen rolling down the road. For most of the battle, a single M901 AT has held the bridge taking pounding after pounding. The crew holding onto there position, taking out tank after tank and surviving hit after hit. The vehicle was struck at least 10 or more times with no effect. All this while vehicles all around them burst into flames. Finally, after a long exchange, The commander of the Russian BMPs is killed and the units break formation and retreat into advancing Russian armor. The right side bridge has become a meat grinder and has slowly wittled down the attacking Russian forces. Russian artillery lays down Smoke in an attempt for the remaining forces and attempt one final push. This allows the Russians to regroup and begin one final push. Hind helicopters were seen in the area and fired from hilltops in an attempt to dislodge the defending forces. Sadly this was not enough to tip the tide in the Russians favor. Hind helicopters were seen in the area and fired from hilltops in an attempt to dislodge the defending forces. Sadly this was not enough to tip the tide in the Russians favor. In the confusion of the last push, The Brave and tenacious M901 AT vehicles is seen smoldering along the bridge. The 13th hit was not there lucky number. The infuriated Russian general called on all remaining forces to single in on this one vehicle. The crew had long since abandoned this vehicle and escaped the battle. At this point, US reinforcements made it to the area and reinforced the bridges and were able to hold their ground.. Russians were forced to withdrawal.
Thank you for reading my fist attempt at an after action report. Hope you enjoyed it and as always, feel free to comment. This newest addtion, to GHQ soviet tank line up, represents a pre-gulf war iraqi modification. Western forces would come soon coin the name T-55 Enigma. Though it saw limited use and its effectiveness in combat was poor, it is still a unique and interesting modification to the basic T-55 tank. Because of its unique appearance and the model quality, I had to pick up a few. Once I recieved my order, I only found myself liking them more. Even though these vehicles were used mostly as command tanks for a company of unmodified T-55s, I can see a few more in my future to round out an entire company. The picture below really shows off the detail of the sculpture. The sculpture features add on composite armor on the chassi and turret. It also features the counter weight used for both rear turret protection and counter balance for the add on armor located on the front side of the turret Here are a few more pictures. I applied the base coat using a double action airbrush with 15 PSI of pressure. The base coat color is US Army/Marines Sand. The barell cover is a lightened mixture of Flat White and Nato Tri Color Green. The Treads are painted using Rust color. All of these paints are Model Masters Enamel. The wheels are painted with Tamiya Acrylic german Grey XF-63 and darkened slightly with a drop of Nato Black XF-69.
Still have some cleanup and detail painting to do. If I ever fully complete these, I will add more pictures. Here is the begging of my MEU. Pictured is a set of GHQ M60A3s with and without reactive armor. The back row is filled with 8 GHQ AAVP-7A1 Rams. Just the begging of the detail work. More to come. I have some LAV-25s in the wings awaiting primer and paint. Because of my current tiny house living arrangement, not sure when I will have them done.
I made a a second attempt on my GHQ Marder 1A3s. In an effort to get a better match on the NATO Tricolor Brown, I decided to turn to Tamiya Acrylic colors. For my second attempt, I used XF-68 NATO Brown in place of the XF-10 I used the first time. See photo Below The three vehicles to the left use XF-10 for the brown and the three on the right use XF-68. I am not sure either looks quite right. I am goint to post these to the GHQ Forum and see which people like.
This is a quick post, just painted the camo pattern on a set of GHQ Marder 1A3s. I am new to the Nato Tricolor scheme and wanted to see if I can get some feed back.. I am not sure why, but I go back and forth on weather they look ok or not. I am sure its me and they are just fine. Let me know what you think, your opinion is greatly appreciated.
I recently posted a question on the GHQ website forum. I wanted to see pictures of other people's work relating to the German Leopard and M60 tanks using NATO Tri-color paint scheme. So I thought I would post a few pictures of my work so far and even through in a few pics of my desert scheme M60A3s. All vehicles are GHQ. I am not sure I like the NATO TRi-color results. I think its because of the shine to the brown. Below is my GHQ M60A3 desert tanks. As always, let me know what you think and always welcome suggestions and ideas.
My Russian forces are shaping up really well and I am digging the current paint scheme I am using. The picture below shows a set of GHQ BTR-80s, BTR-80/As and T-80Us. They are not finished, like most of my stuff, but are pretty close. Just wanted to give everyone a quick preview.
|
Archives
May 2020
Categories |